
Reference 1688 · Task trainer
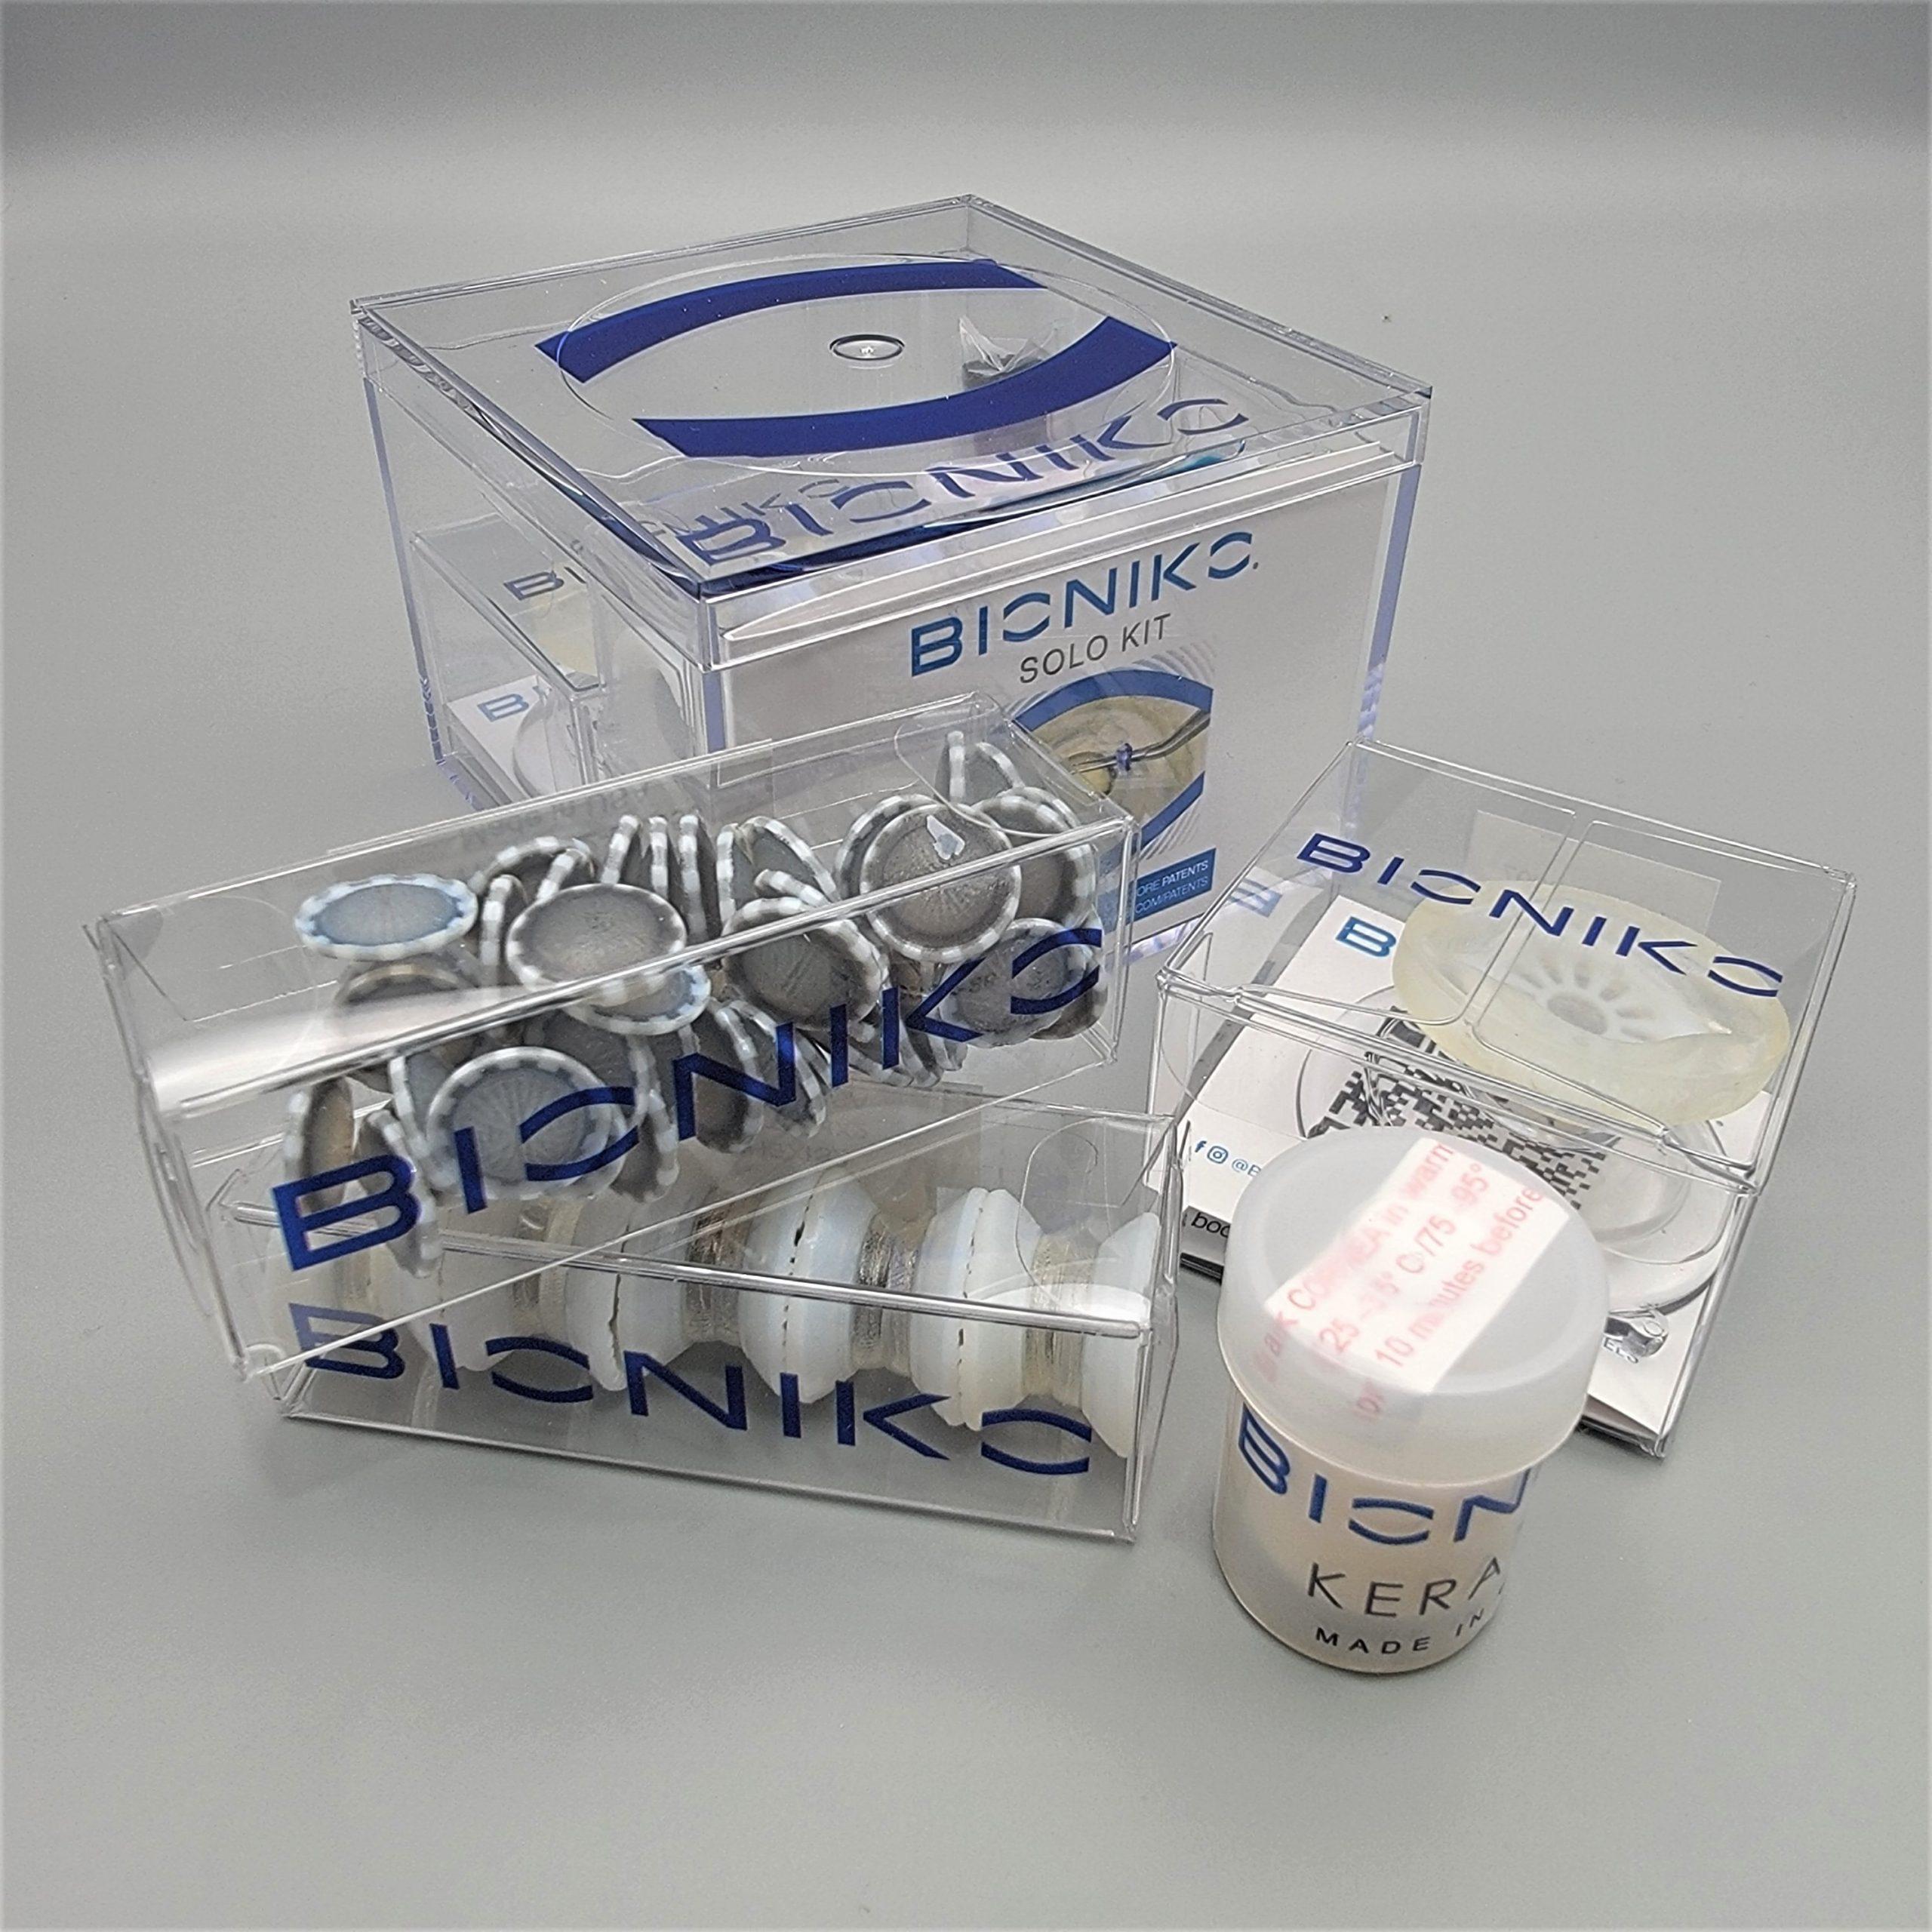
SOLO2 KIT - Basic skills in ophthalmic surgery
- Task trainer
- Ophthalmology
- Main product
- Dentistry
Develop and assess micro surgical skills. Two distinct scenarios of PKP and capsulorhexis will develop instrument handling technique and spatial awareness in a controlled and repeatable environment.
Price on request
Available in Spain, Portugal and Andorra · delivery time given in the proposal
Downloadable data sheet — features, specifications and delivery time, in PDF.
Need a technical report? Ask us for it and we'll send it within 24 h →
Description
What this equipment is and what it's designed for.
Develop basic skills required for ophthalmic surgery. Through familiar scenarios of capsulorhexis and corneal transplant, users will gain an understanding of proper instrument control, wound awareness, bi-manual coordination, tissue depth perception and basic suturing technique.
Two distinct scenarios of PKP and capsulorhexis will develop instrument handling technique and spatial awareness in a controlled and repeatable environment.
What you learn
Task trainer modality. The competencies this equipment trains, in the language of the training plan.
- PKP scenarios
- Capsulorhexis
- Corneal transplant
- bi-manual coordination
- Basic suturing techniques
- Tissue depth perception
- Spatial and wound awareness
- Instrument handling skills
Cases and pathologies
The clinical scenarios that can be simulated with this equipment.
- Nuclear and cortical cataract
- Phacoemulsification
- Capsulorhexis
Features and what's included
What the equipment does and what comes in the box, as described by the manufacturer.
Features
EYE HOLDER:- MINI HOLDER is a minimalist holder with no facial features. It is our most cost effective holder. It shines where space and simplicity are a priority.
- Fix it to a smooth surface with its suction cup, or adapt it to larger head models.
- Its simplicity is well suited for fast paced wetlab environments as well as self-directed training.
- INCISION INTEGRITY: The integrity of the wound relates to good technique in manipulation of instruments through ports, a fundamental skill of ophthalmic surgery.
- RHEXIS SIZE: Consistent rhexis size is an indicator of good technique and understanding of scale.
- RHEXIS CENTRATION: Although an offset is sometimes desired (nasal and superior) in real cases, for the purposes of task training and evaluation, a centered rhexis is convenient for scoring with simple instrumentation. A centered rhexis shows control of the surgical landscape.
- COMPLETION TIME: Although in real surgery situations quality is more important than speed, at a basic skill training level, time to completion is a good indicator of a learning curve. As familiarity with steps and confidence with the technique increases, a decrease in time to completion is expected.
- SUTURE EXECUTION PARAMETERS: These may include radiality, distance to donor edge, distance to host edge, intra-stromal vs penetrating, tension and spacing.
- INSTRUMENTATION: These may include number of sutures breaks, number of needles bent, length of suture used.
- TIME TO COMPLETION: Although in real surgery situations quality is more important than speed, at a basic skill training level, time to completion is a good indicator of a learning curve. As familiarity with steps and confidence with the technique increases, a decrease in time to completion is expected.
- Immerse the donor cornea for at least 5 minutes in water. (Note: cornea looks "milky" when properly hydrated).
- Insert the host eye sclera into the MINI Holder. Be careful not to damage delicate structures when inserting the models. Always press on the sclera.
- Use a dropper with water to lubricate the limbus before starting. NOTE: Lubricate with water frequently throughout the task to maintain hydration and realistic feel.
- Attach the donor corneal graft to the host eye limbus at evenly spaced points. Tension and location of the sutures should be as uniform as possible to minimize distortion of the cornea.
- Insert the RHEXIS model in the MINI Holder. Be careful not to damage delicate structures when inserting the models. Always press on the sclera.
- Use a broad-tip sharpie, to color the tip of a dry cotton swab; add a couple of water drops to the capsule and then gently remove the excess water with the stained swab. This will lubricate the model and lightly stain the capsule. DO NOT apply the sharpie directly to the capsule, or over-stainit, as this may have a detrimental effect on capsule properties.
- Make an incision on the limbus with your knife of choice. Entry depth, angle and incision width can be demonstrated and practiced. NOTE: The model promotes the user to create and work from a posterior incision. This is a good practice which lowers the chance of touching the corneal endothelium. The more anterior the incision, the more sensitive the wound becomes to manipulation of the instrument. Breakage of the limbus indicates that either the incision was made too anterior or forceful manipulation occurred.
- Start a capsule tear with acystotome. NOTE: Make the flap broad so it is easy to grasp with the forceps. The capsule in the model is more fragile than the real capsule and requires a fuller bite with the forceps.
- Manipulate the Utrata forceps of choice through the port to create a continuous circular tear on the capsule. NOTE: The model promotes frequent regrasping and gentle manipulation of the forceps. Breakage of the capsule flap can result if a long tear is attempted without regrasping. The capsule may be cut by the forcepsif the pinching force is too high. NOTE: The wound should be used as a fulcrum point for instrument movement. Improper instrument control will cause stress and damage to the limbus ridge.
Includes
- 1 MINI Holder
- 1 RHEXIS 2 (10 anterior segment total)
- 1 RHEXIS 2 LENS (50 lenses)
- 1 Kerato (5 eye simulators)
- 1 Lens TOOL
- 1 Storage box
Specifications
Dimensions, materials and certificates. This is what you need to know where it will fit.
- Reference
- 1688
Services for this equipment
Services matter: the equipment gets commissioned, the staff know how to use it and maintenance is settled before you start. Include them in your budget and avoid having to raise a second purchase.
- Preventive maintenance We'll let you know when it's due
Documentation
You can download it now or we'll send it on request.
Other related equipment
They train the same technique. Each one approaches it in its own way: none of them replaces this one.
-
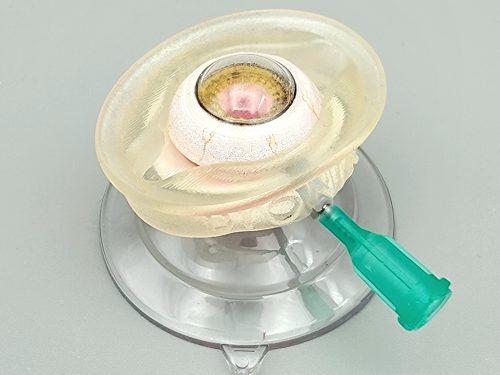 ANTERIOR VITRECTOMY KIT - Pre-assembled kit for anterior vitrectomy with empty capsule and rhexis (1 pc)
See details →
ANTERIOR VITRECTOMY KIT - Pre-assembled kit for anterior vitrectomy with empty capsule and rhexis (1 pc)
See details →
-
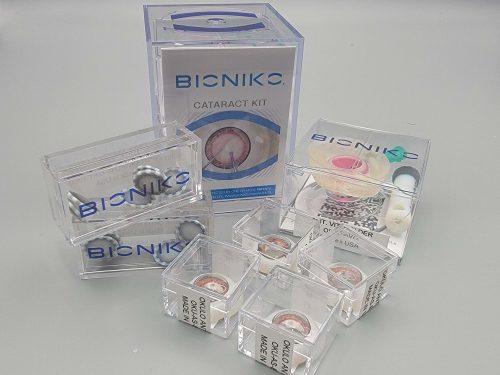 CATARACT KIT - Cataract surgery wet lab
See details →
CATARACT KIT - Cataract surgery wet lab
See details →
-
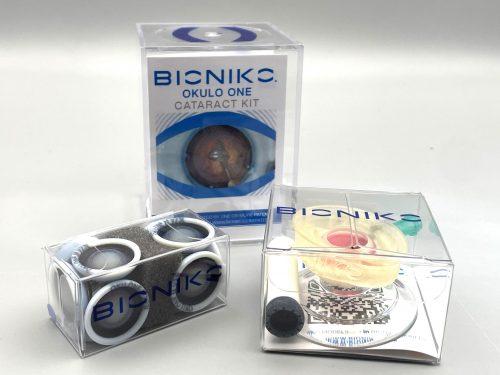 CATARACT OKULO ONE KIT - Cataract surgery starter kit with AVH holder and disposable anterior segment
See details →
CATARACT OKULO ONE KIT - Cataract surgery starter kit with AVH holder and disposable anterior segment
See details →
-
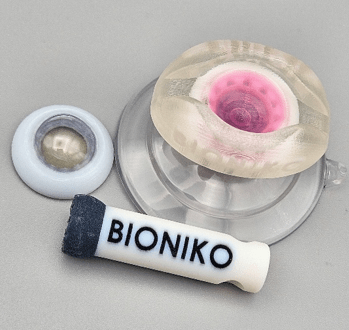 ICL KIT - ICL lens implantation kit with suction base and anterior segment (1 pc)
See details →
ICL KIT - ICL lens implantation kit with suction base and anterior segment (1 pc)
See details →
-
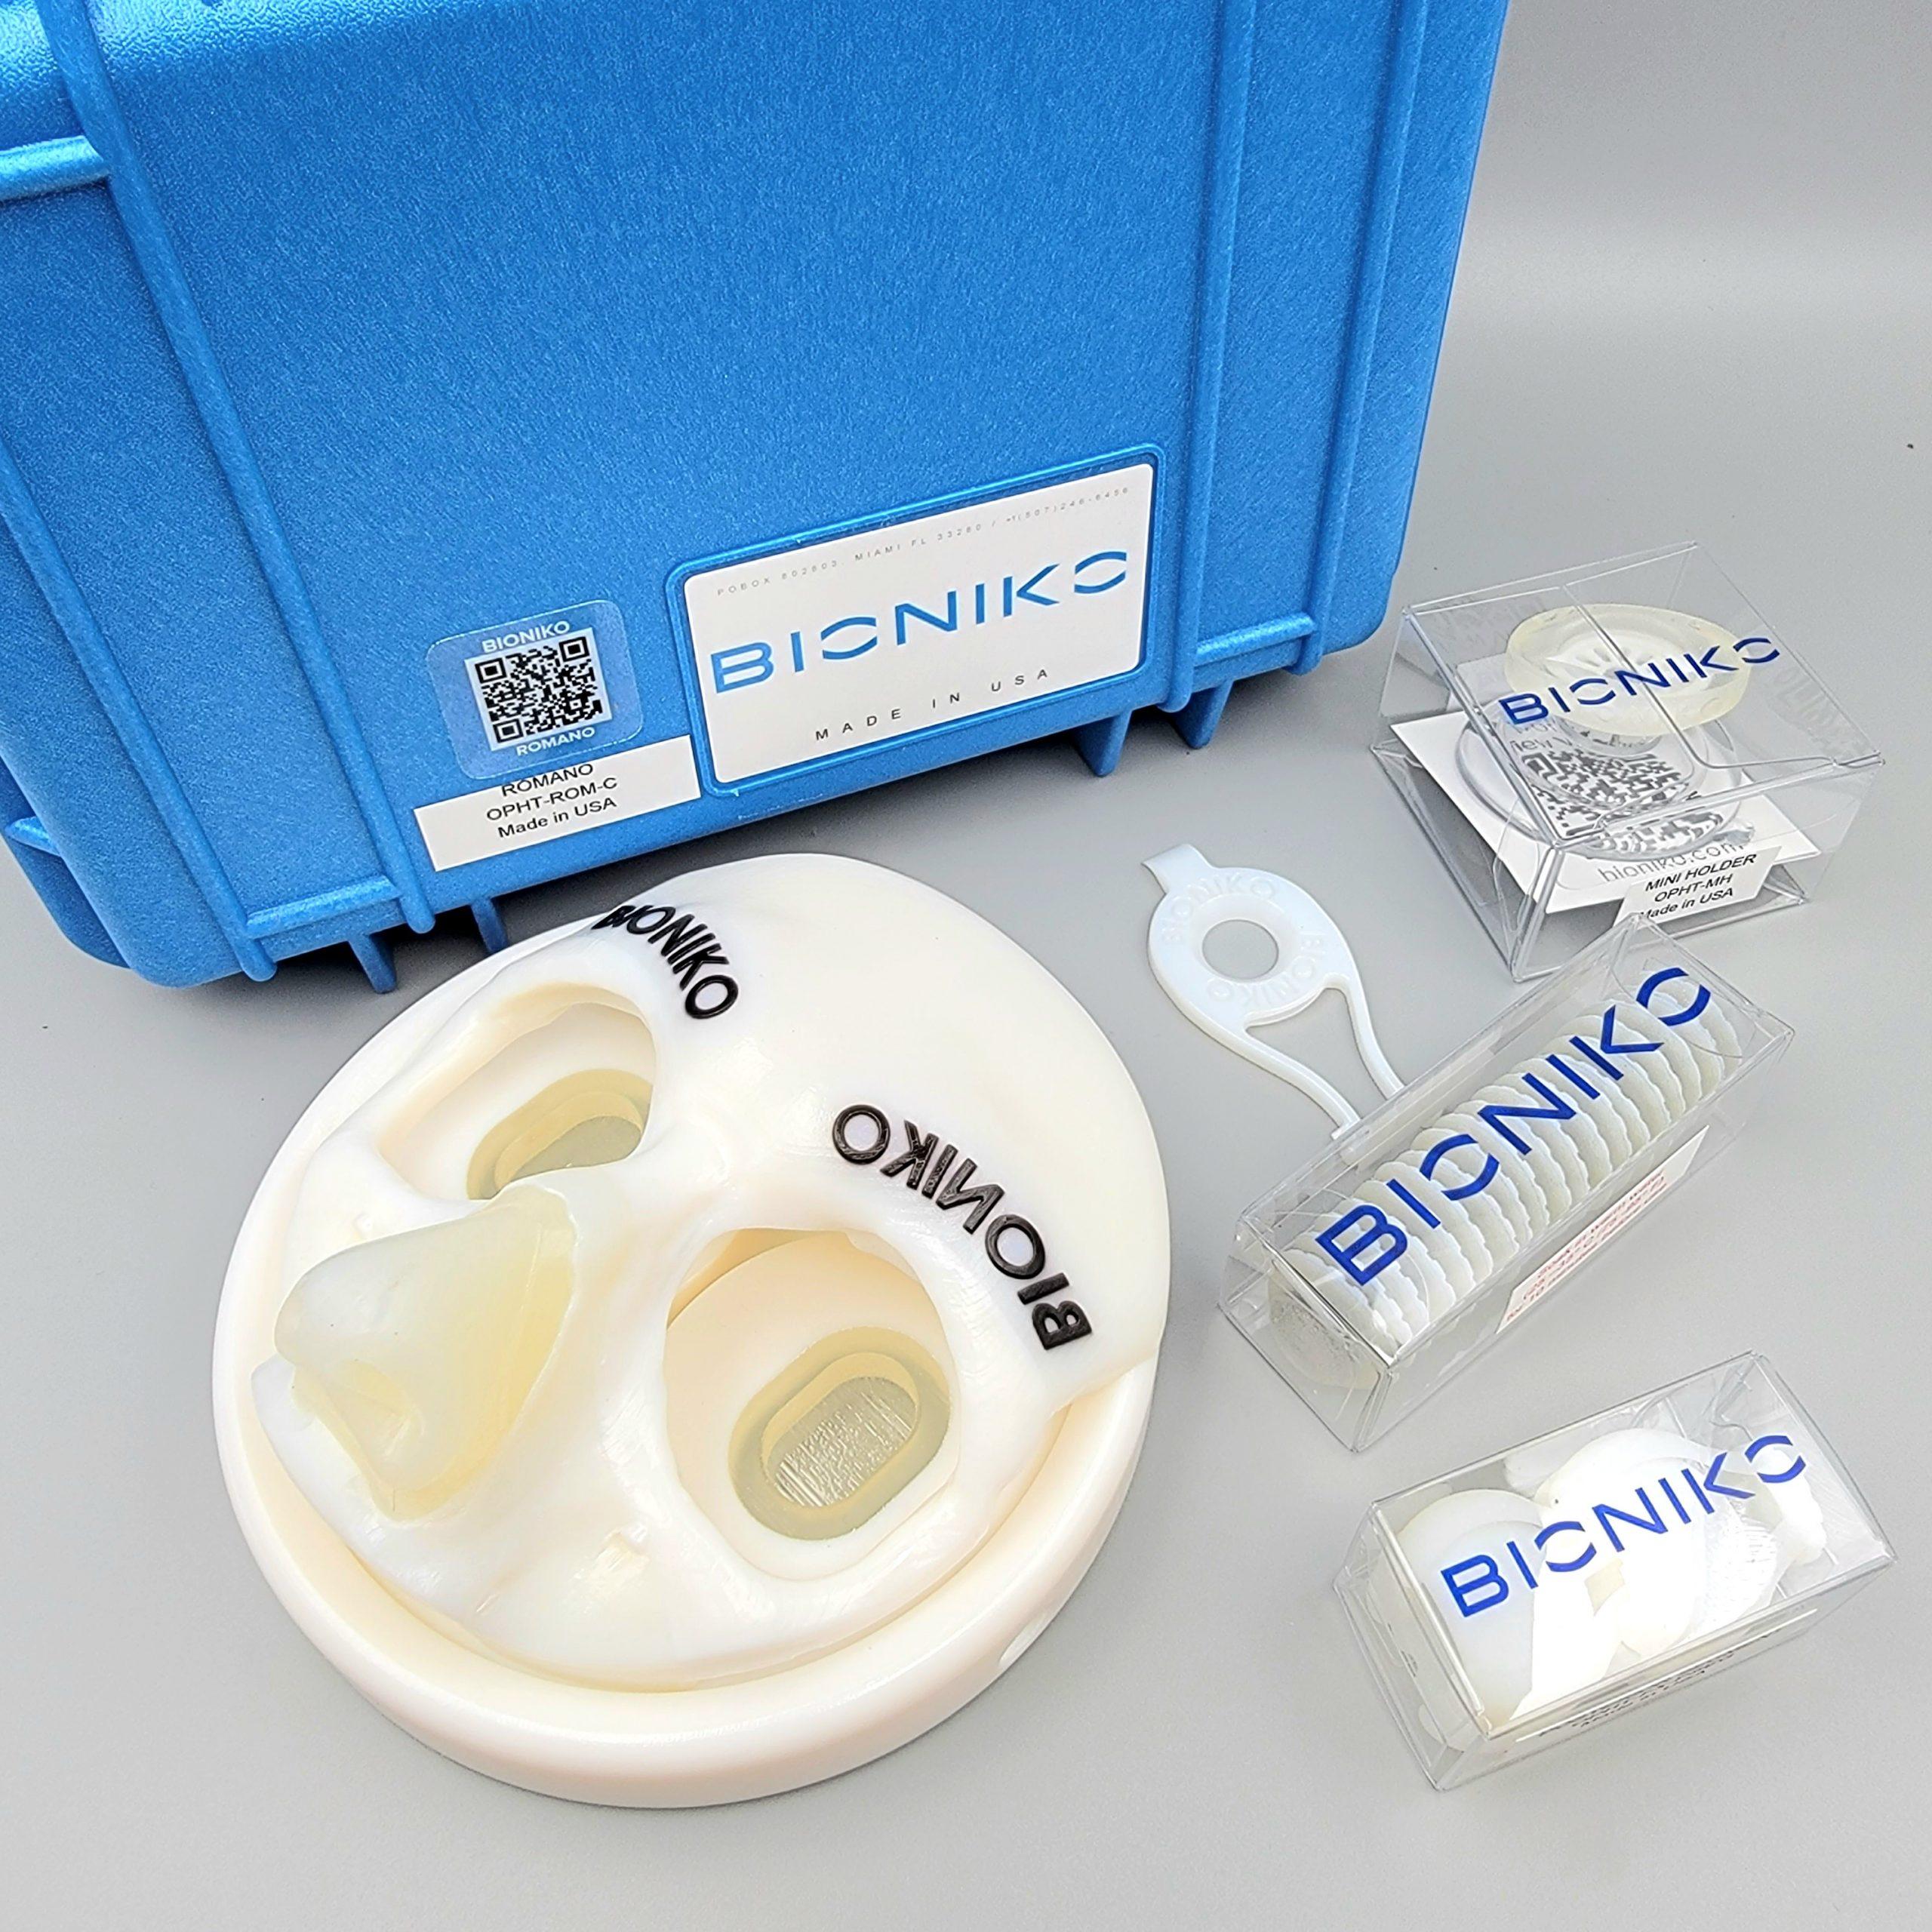 INSITU RECOVERY KIT - In situ corneal recovery kit for eye banks
See details →
INSITU RECOVERY KIT - In situ corneal recovery kit for eye banks
See details →
-
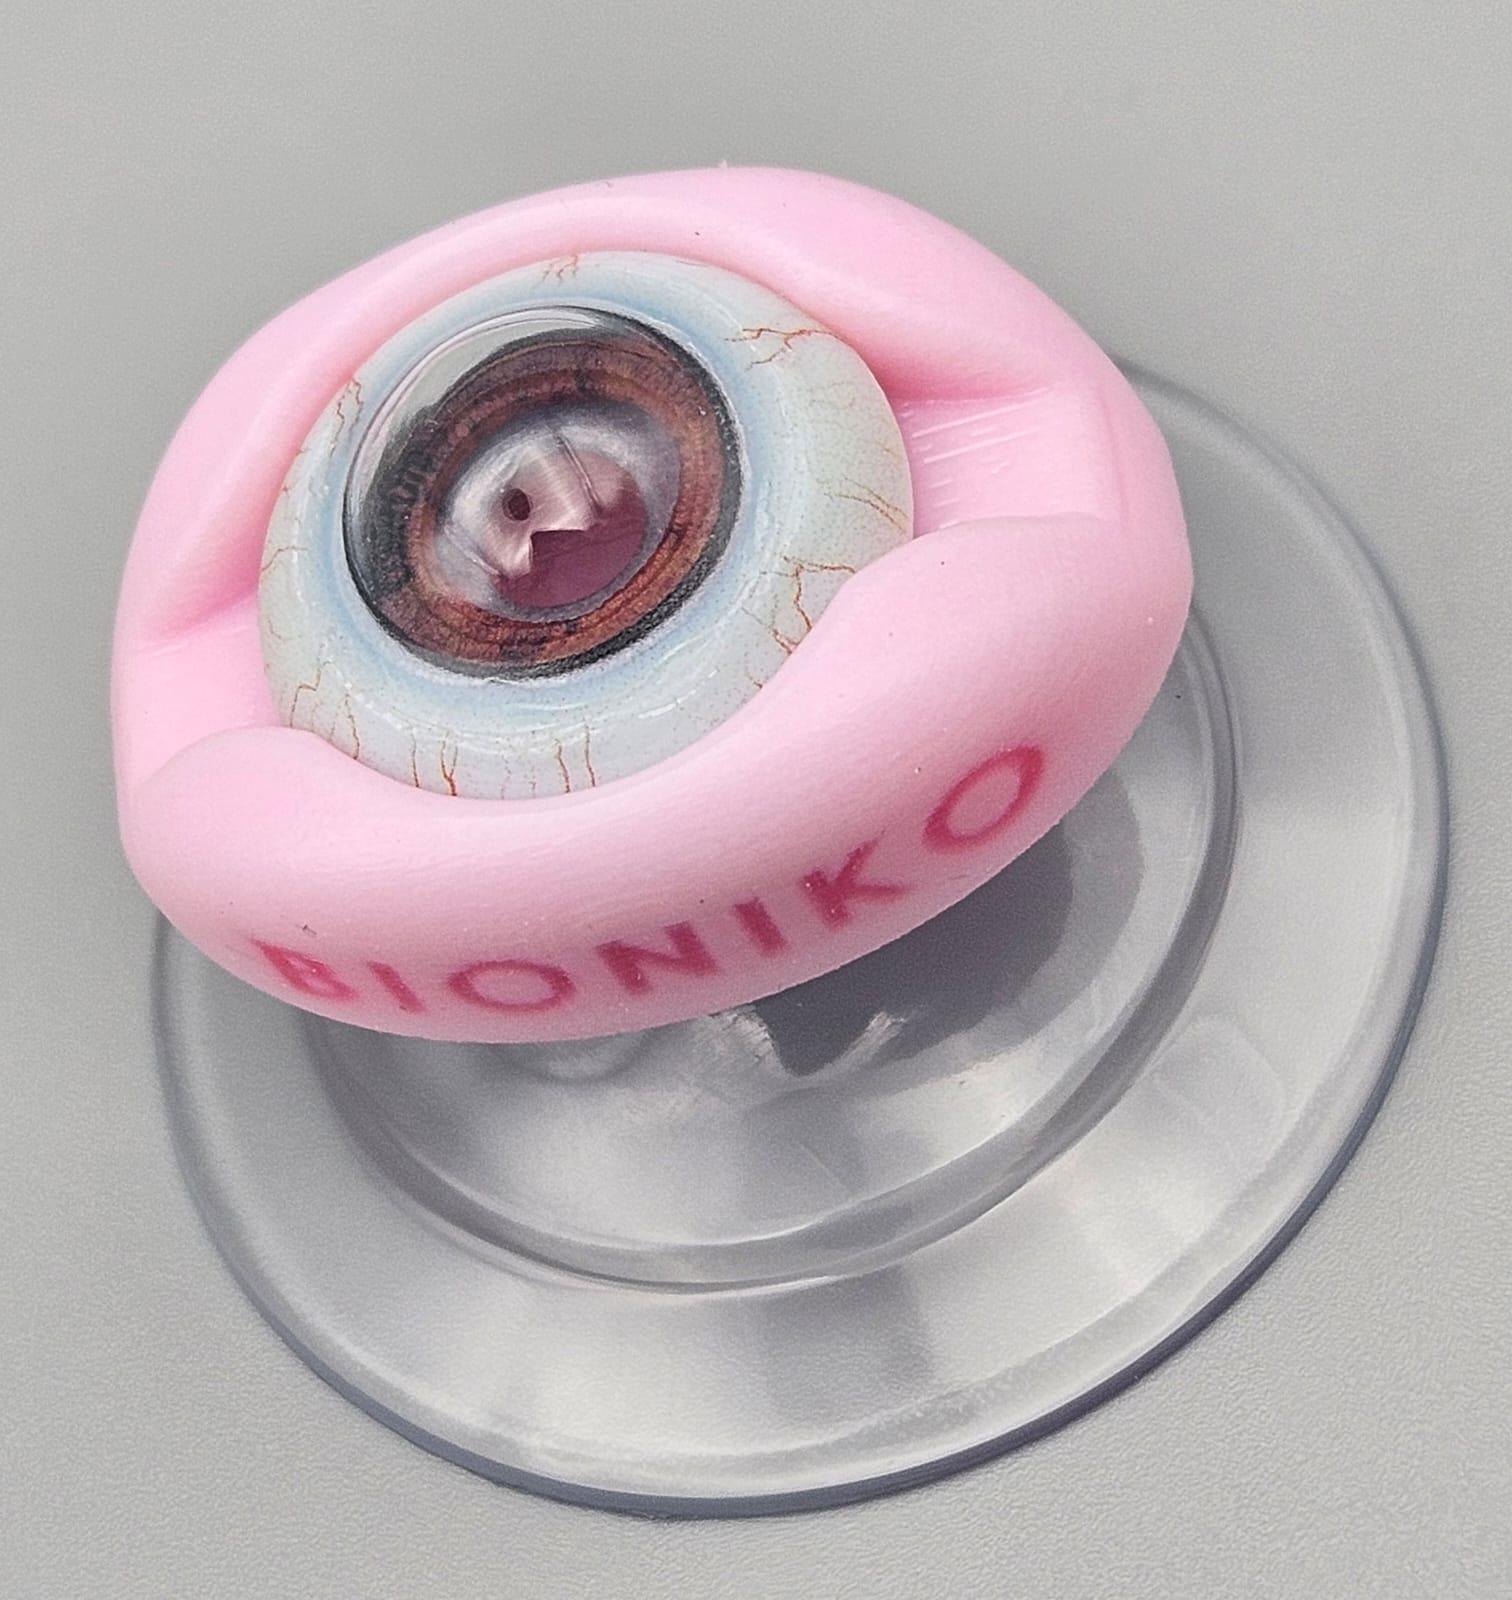 IOL KIT - Intracapsular intraocular lens implantation kit (1 pc)
See details →
IOL KIT - Intracapsular intraocular lens implantation kit (1 pc)
See details →
Is this equipment going into a new centre?
If you're equipping a classroom or a whole centre, starting from the shopping list works out expensive. Start from the needs assessment.